

Chapter 9
Live support
A Live Agent step places the conversation in a department queue. These tools help agents pick it up, answer quickly, and leave a useful record.
Users and agents
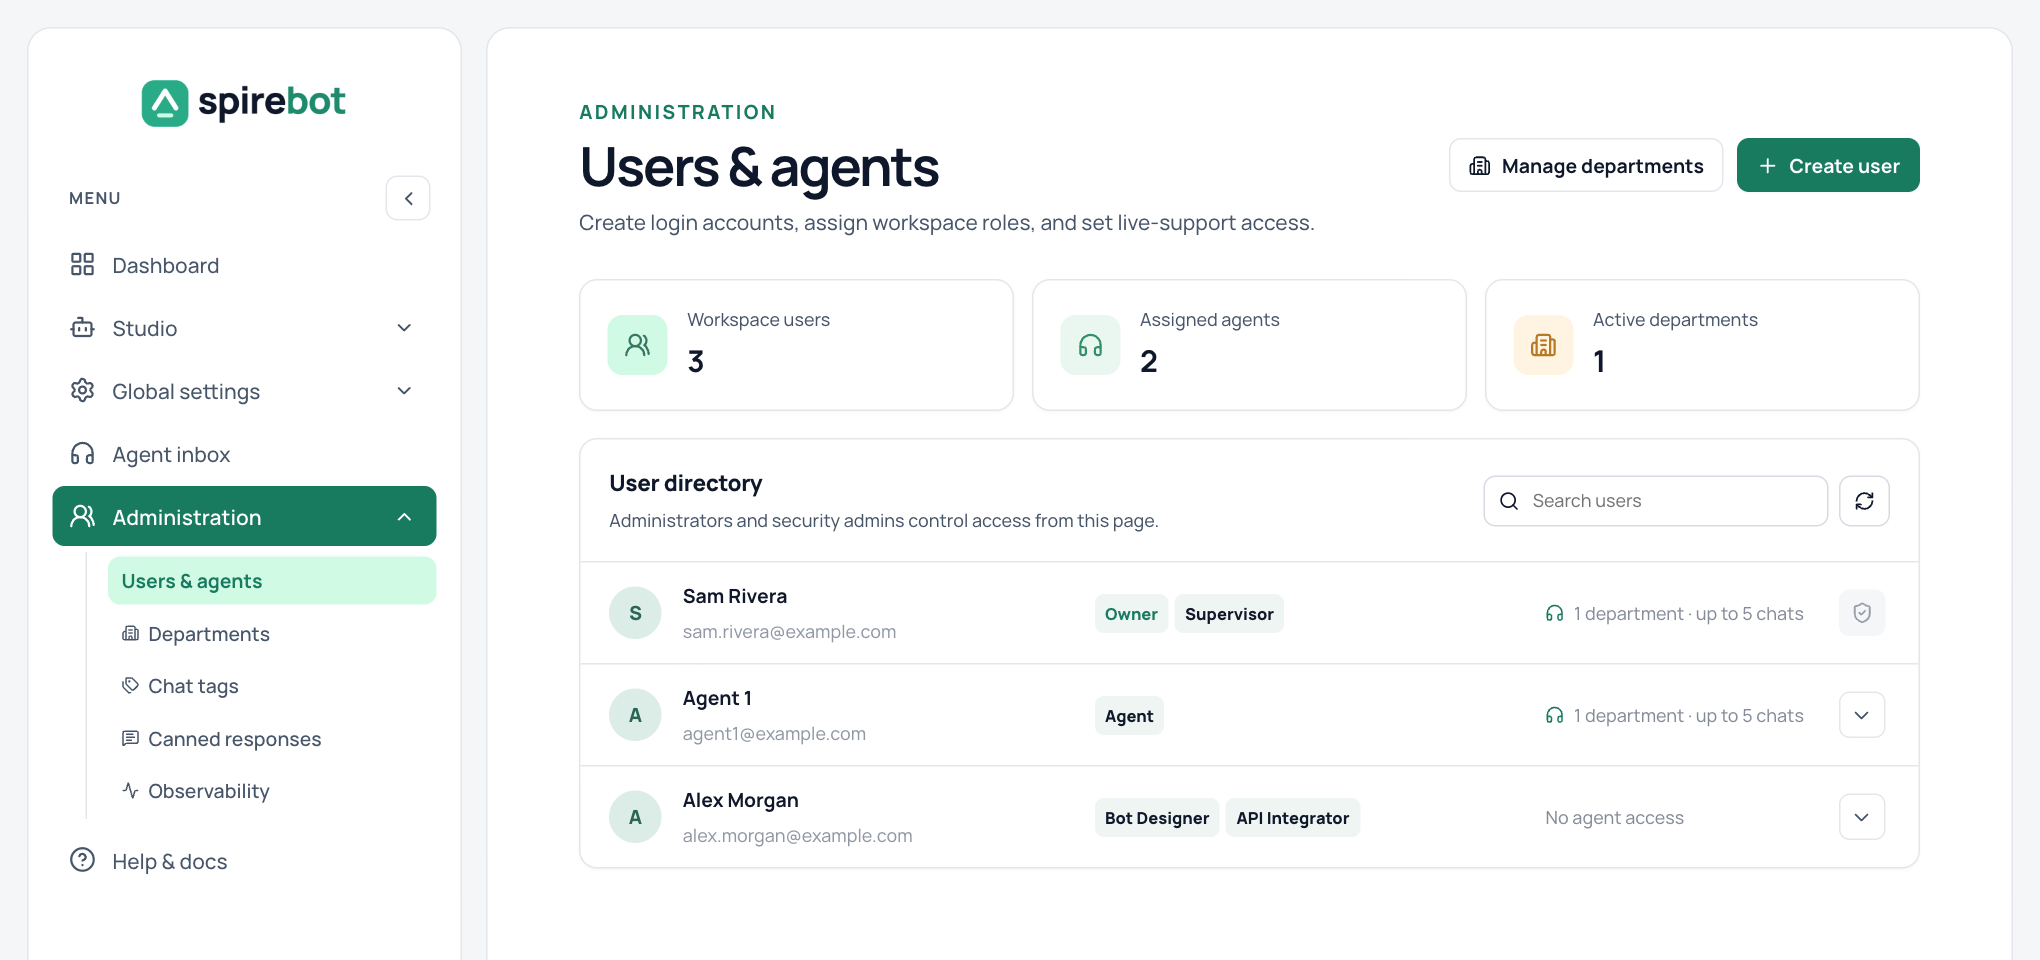
Open Administration → Users & agents. The directory lists every account with its roles, departments, and concurrent chat limit. Administrators and Security Admins control access from this page.
- Select Create user to add an account.
- Open a user’s row to change their roles, departments, or chat limit.
- Each agent can handle 1 to 100 chats at once. The default is 5.
Roles
Under Workspace roles, tick every role the person needs. A user can hold several roles, and their access is the sum of them. Leave all roles unticked for someone who only works in the Agent inbox.
| Role | What it allows |
|---|---|
| Administrator | Everything: every bot, setting, user, department, and the Observability page. |
| Bot Designer | The whole Studio: design, translations, scripts, knowledge, untrained queries, testing, export, deploy and publish, conversations, analytics, and bot settings. API configurations are read-only. |
| API Integrator | Global settings (API connections and WhatsApp accounts) and each bot’s APIs section, including API tests. The rest of the bot is read-only. |
| Security Admin | Users & agents and the audit log: create, edit, and remove users, assign roles, and set department access. |
| Analyst | Read-only access to bots, conversations, analytics, and untrained queries. |
| Agent | Set per department. Works the Agent inbox for those departments. |
| Supervisor | Set per department. Everything an Agent does, plus the team view, chat tags, and canned responses for those departments. |
- Give one person Bot Designer and API Integrator together if they both build flows and configure APIs.
- Only an Administrator can grant the Administrator role or change an administrator’s account. A Security Admin cannot.
- The workspace Owner is the account the workspace was set up with. It always has full access and cannot be edited or removed.
- A role change takes effect the next time the user loads a page. They do not need to sign in again.
- Importing a bot replaces its API configurations, so it needs Bot Designer and API Integrator together, or Administrator.
Departments
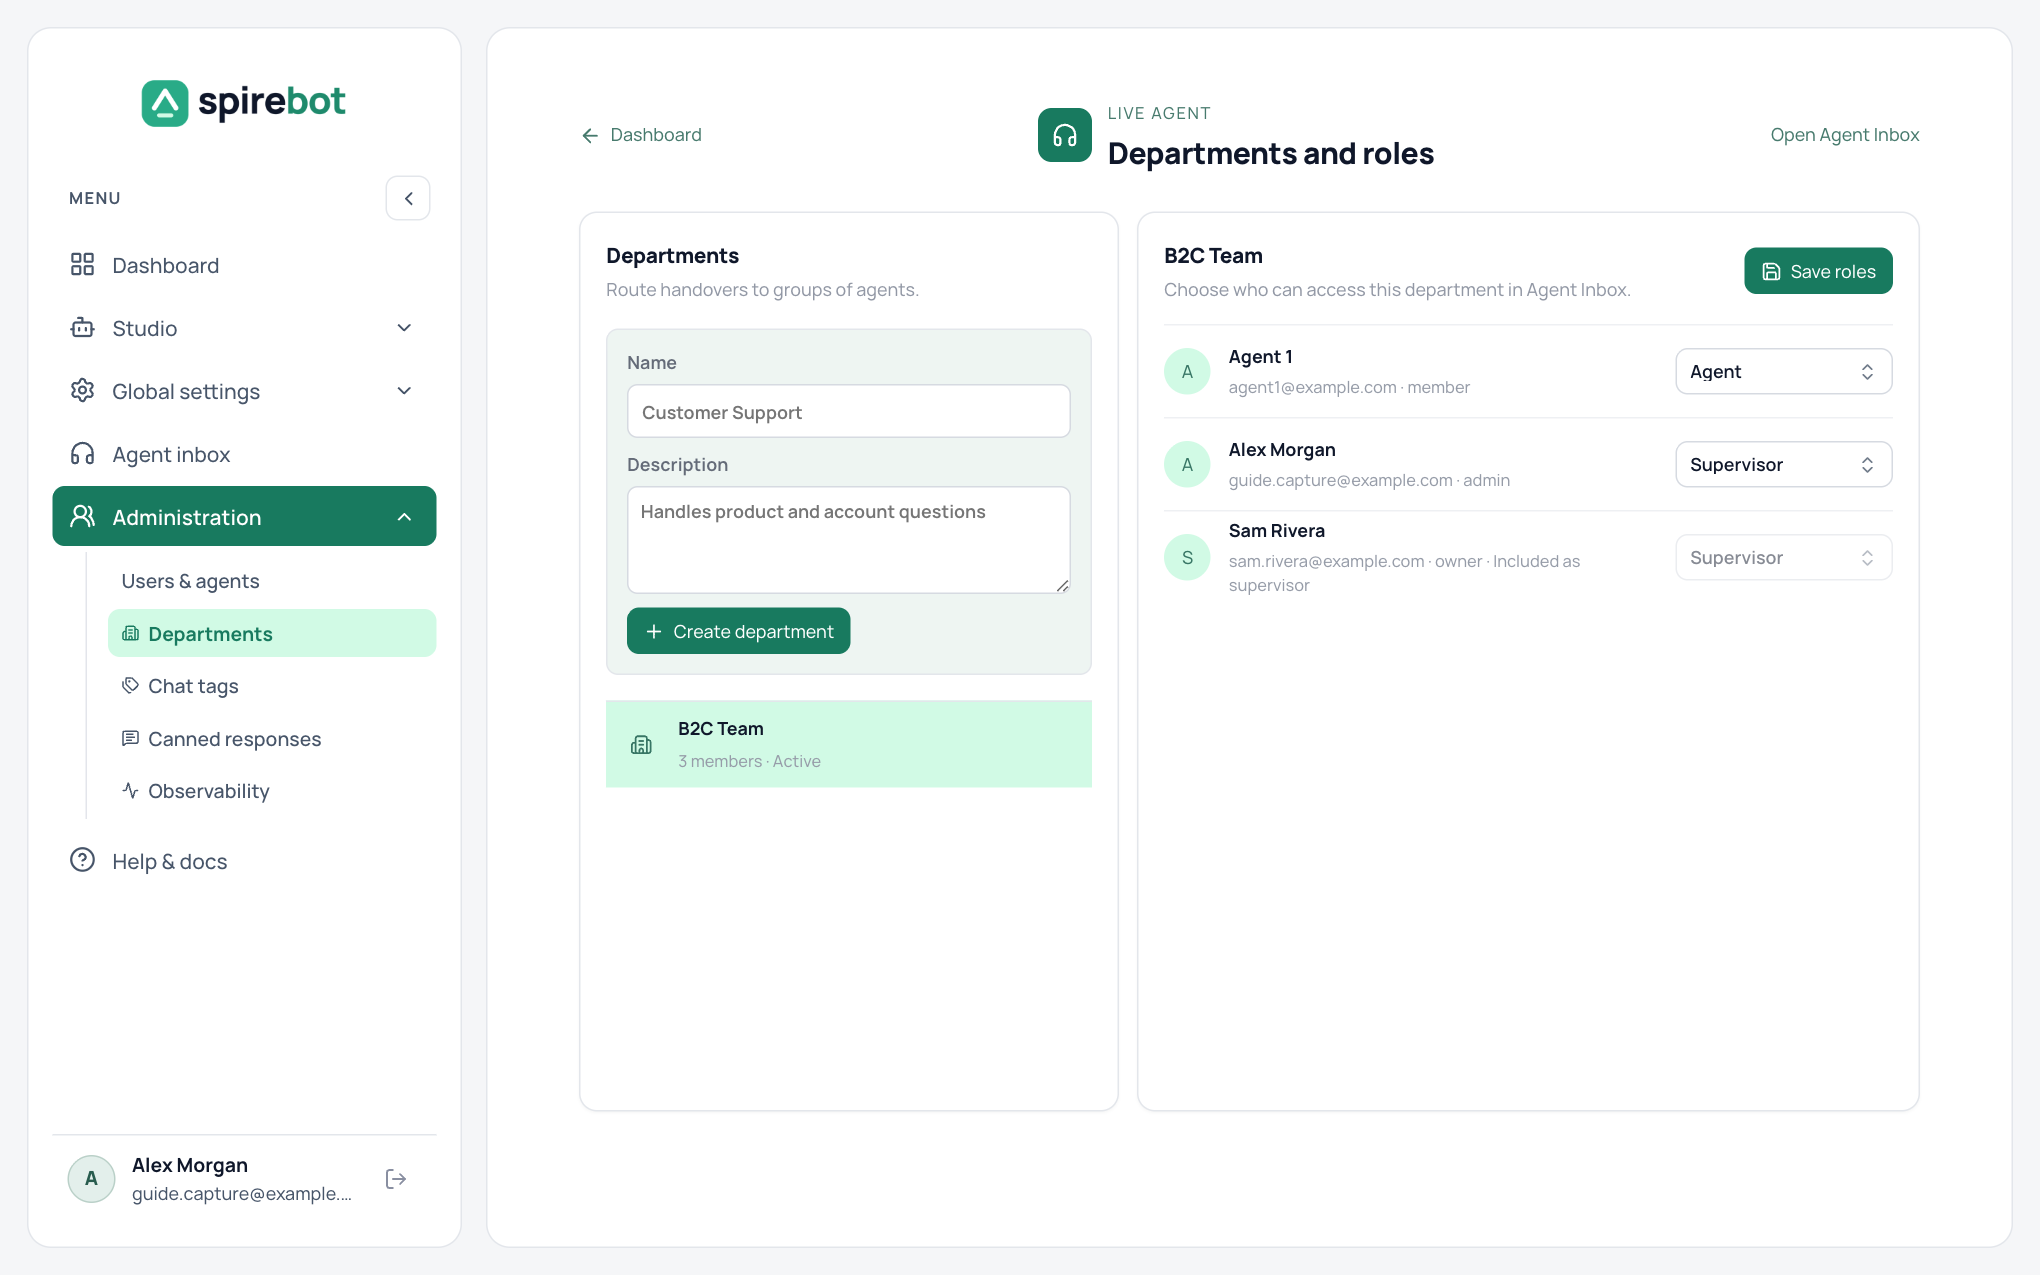
A department is a group of agents that receives handovers. Open Administration → Departments.
- Enter a name and description, then select Create department.
- Select the department in the list.
- Give each member the Agent or Supervisor role.
- Select Save roles.
Only Administrators create and edit departments. Security Admins can still place a user in an existing department from Users & agents.
The Agent inbox
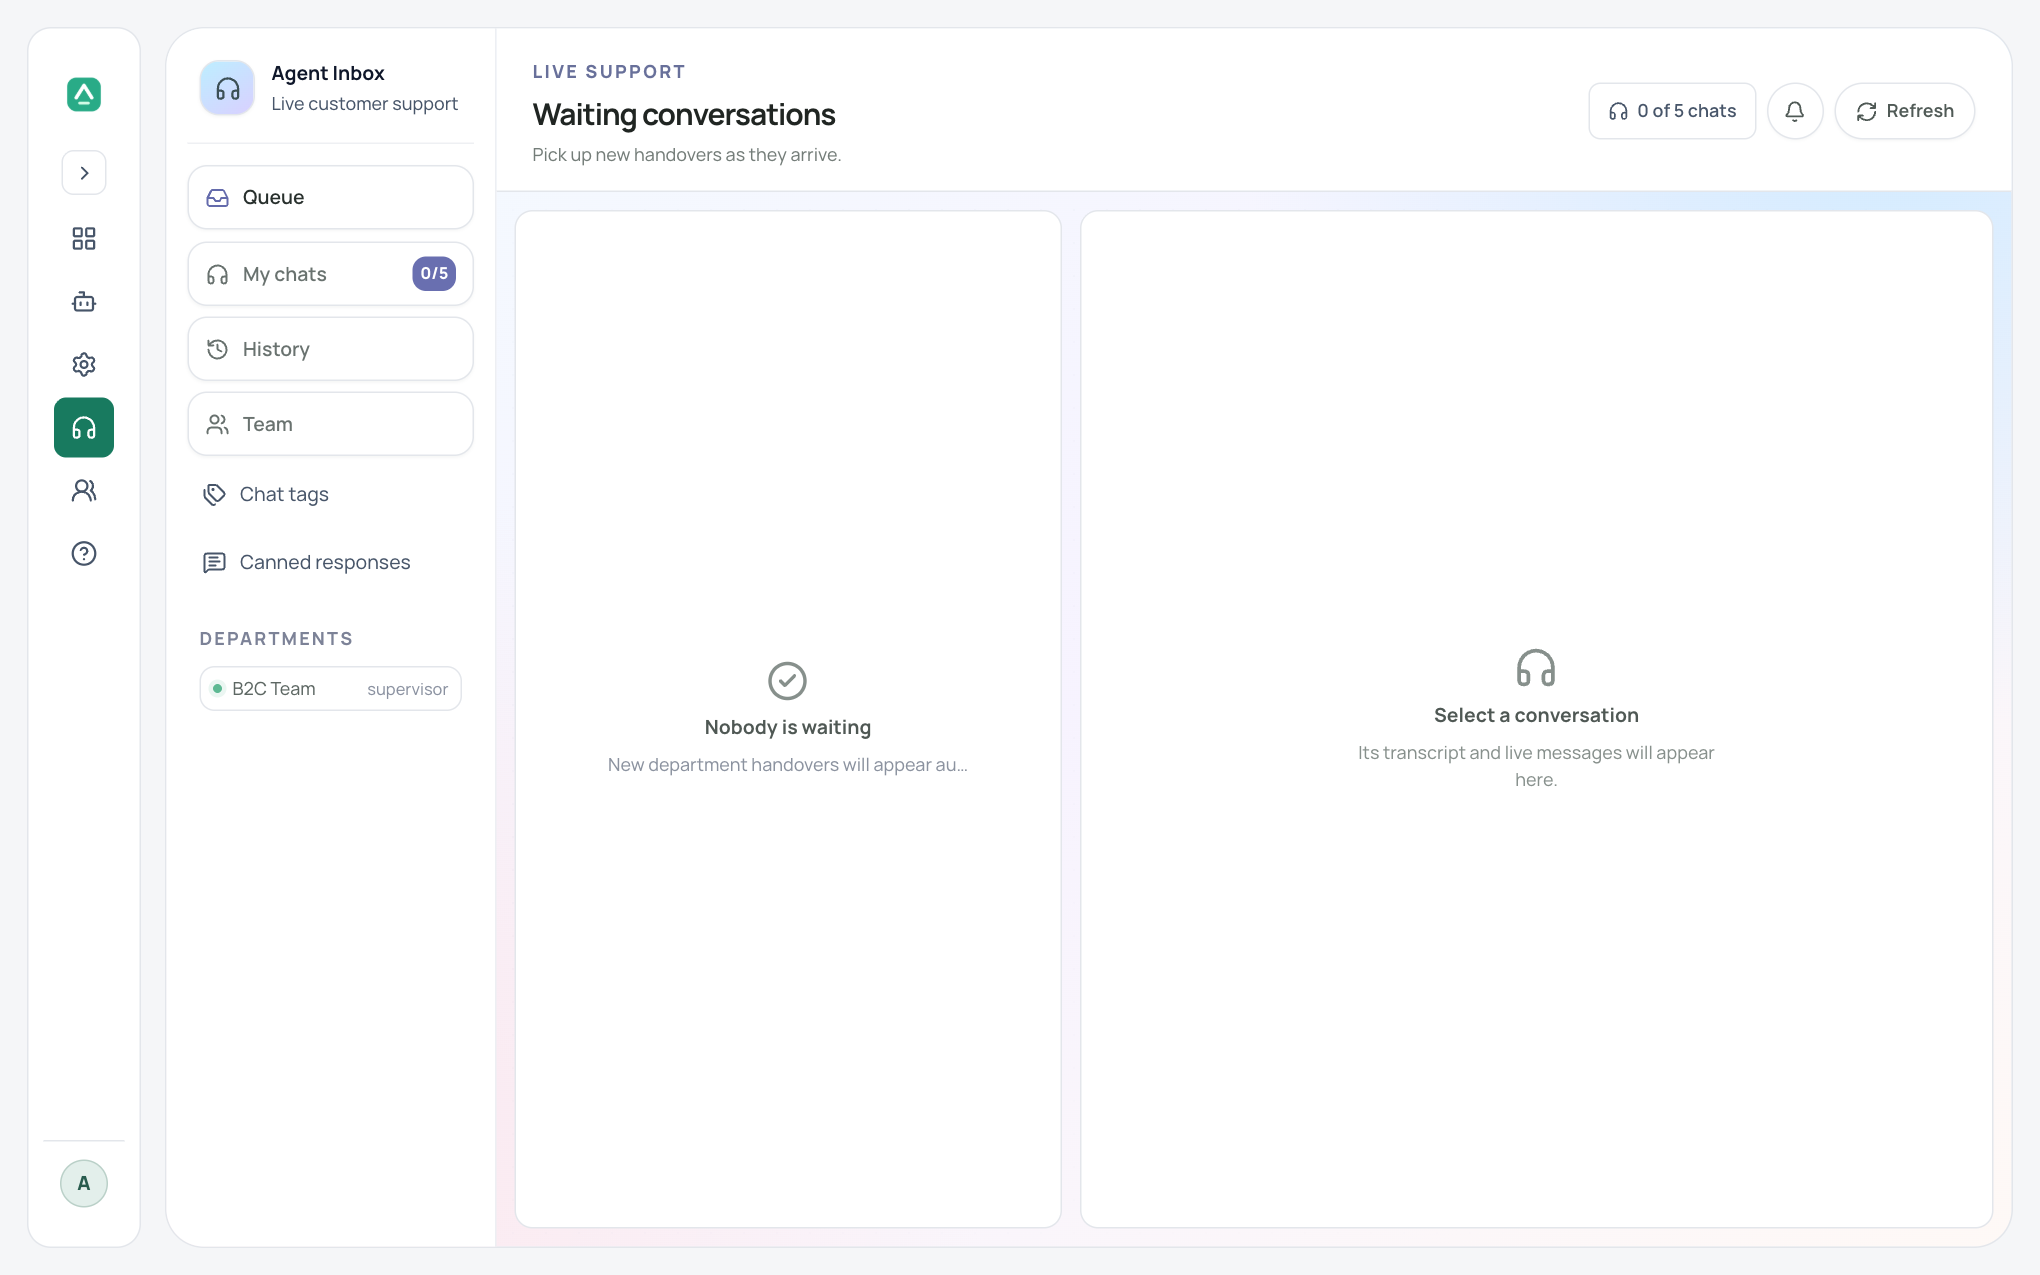
You need an Agent or Supervisor role in at least one department to open the Agent inbox.
| View | Shows |
|---|---|
| Queue | Handovers waiting for an agent in your departments. |
| My chats | The chats you have claimed, with your current load. |
| History | Resolved conversations and their tags. |
| Team | The agents in your departments. |
- Open Queue and select a waiting conversation to read its transcript.
- Select Claim to take it. Claim is disabled when you have reached your chat limit.
- Reply to the customer. Type
/to insert a canned response. - Select Resolve when the issue is closed, then choose tags in the picker that opens.
- The bell button turns on desktop alerts for new handovers.
- Your load, for example “2 of 5 chats”, is shown at the top of the inbox.
- When sentiment and customer memory are on, the inbox shows the customer’s mood and what the bot remembers about them.
Chat tags
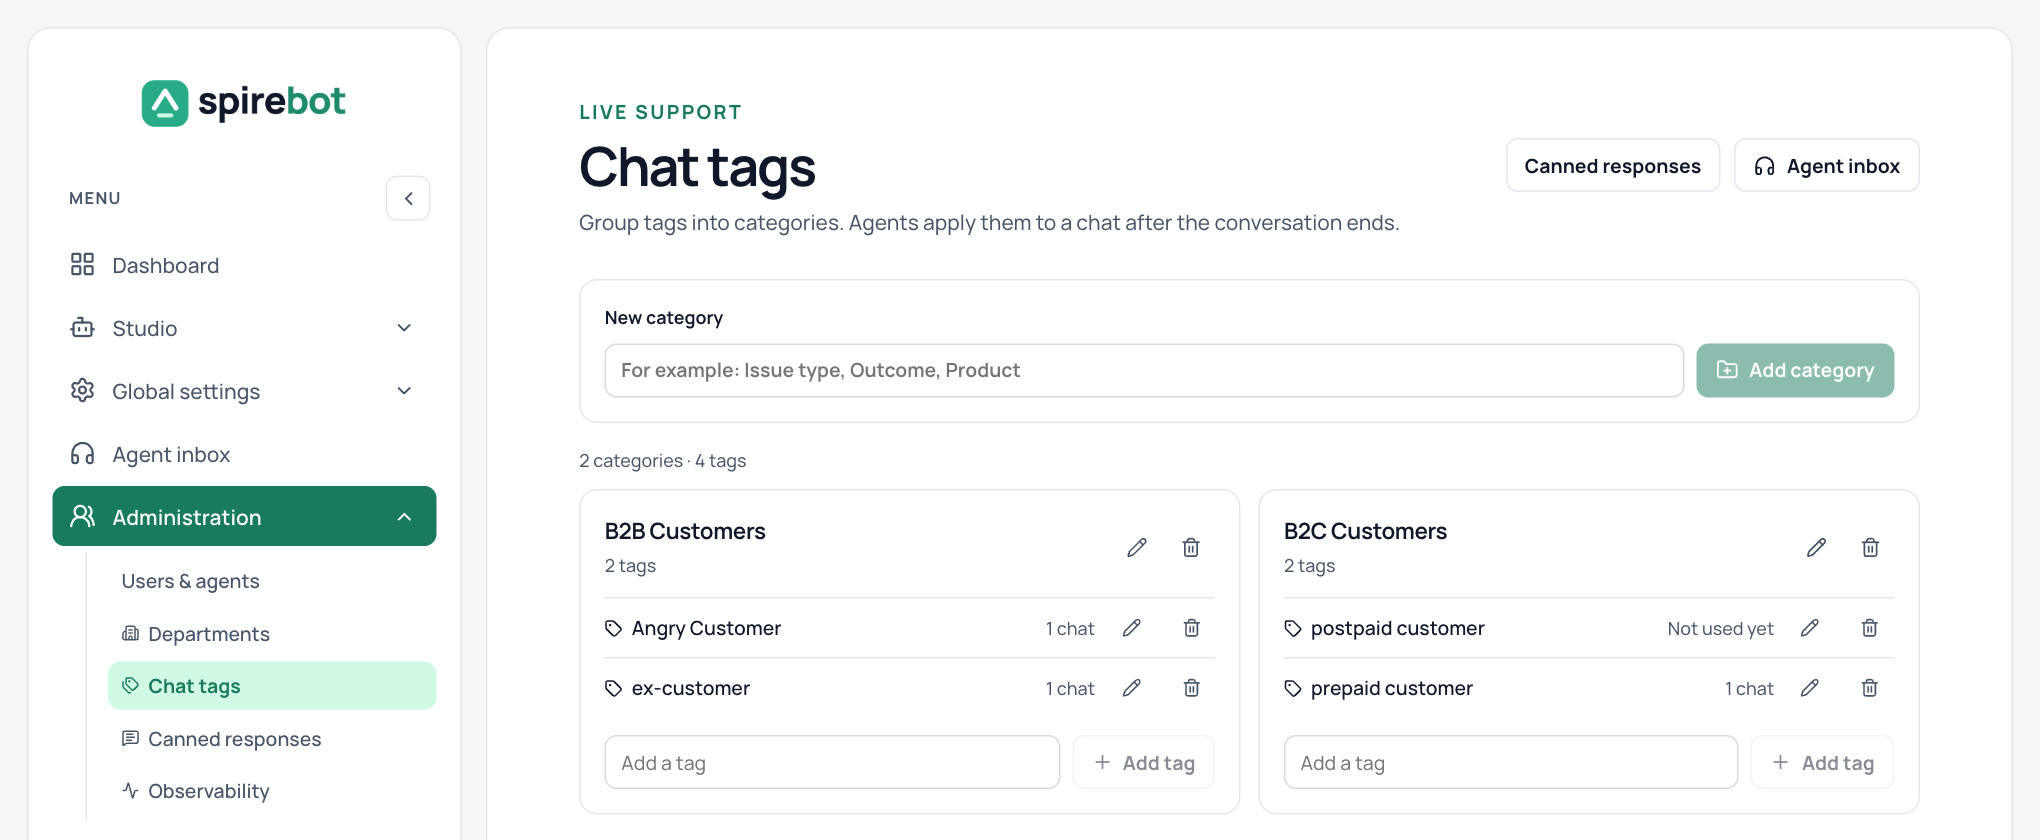
Supervisors and Administrators manage tags under Administration → Chat tags. Create a category, such as Issue type or Outcome, then add tags to it. The page shows how many chats use each tag.
Canned responses
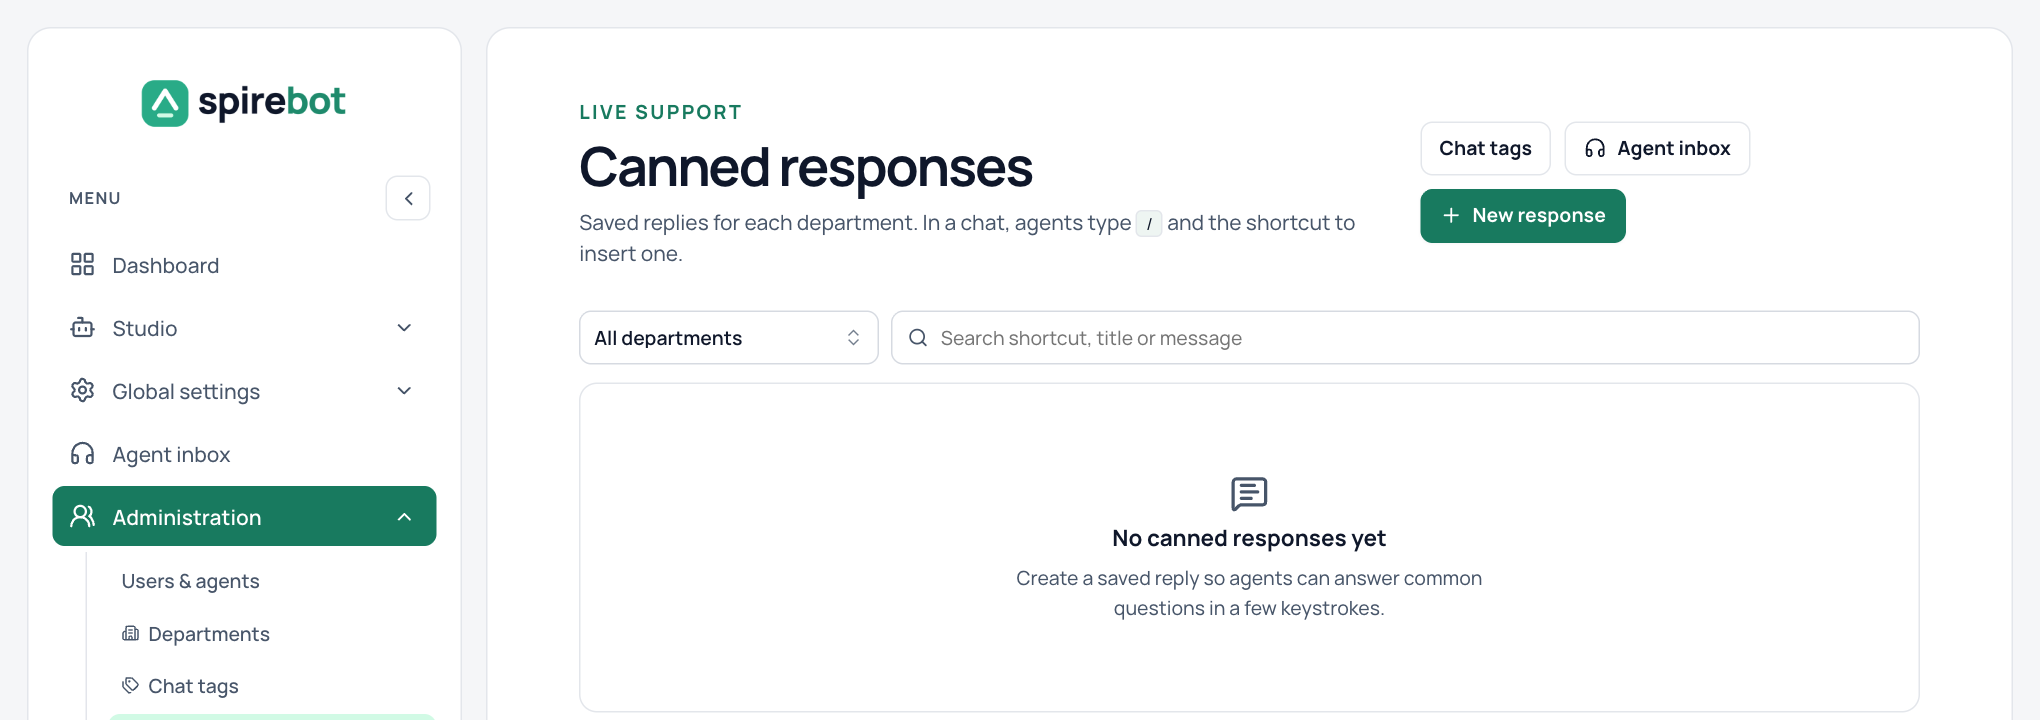
Saved replies are managed per department under Administration → Canned responses. Select New response to add one. In a chat, type / to filter by shortcut, use the arrow keys to choose, press Enter to insert, and Enter again to send.
Customers can end a chat themselves with the End chat button in the web widget. Ending a chat, or an agent resolving it, runs the close flow if one is set in Bot settings.