
Chapter 2
Getting started
Sign in, find your way around, and set up your own profile.
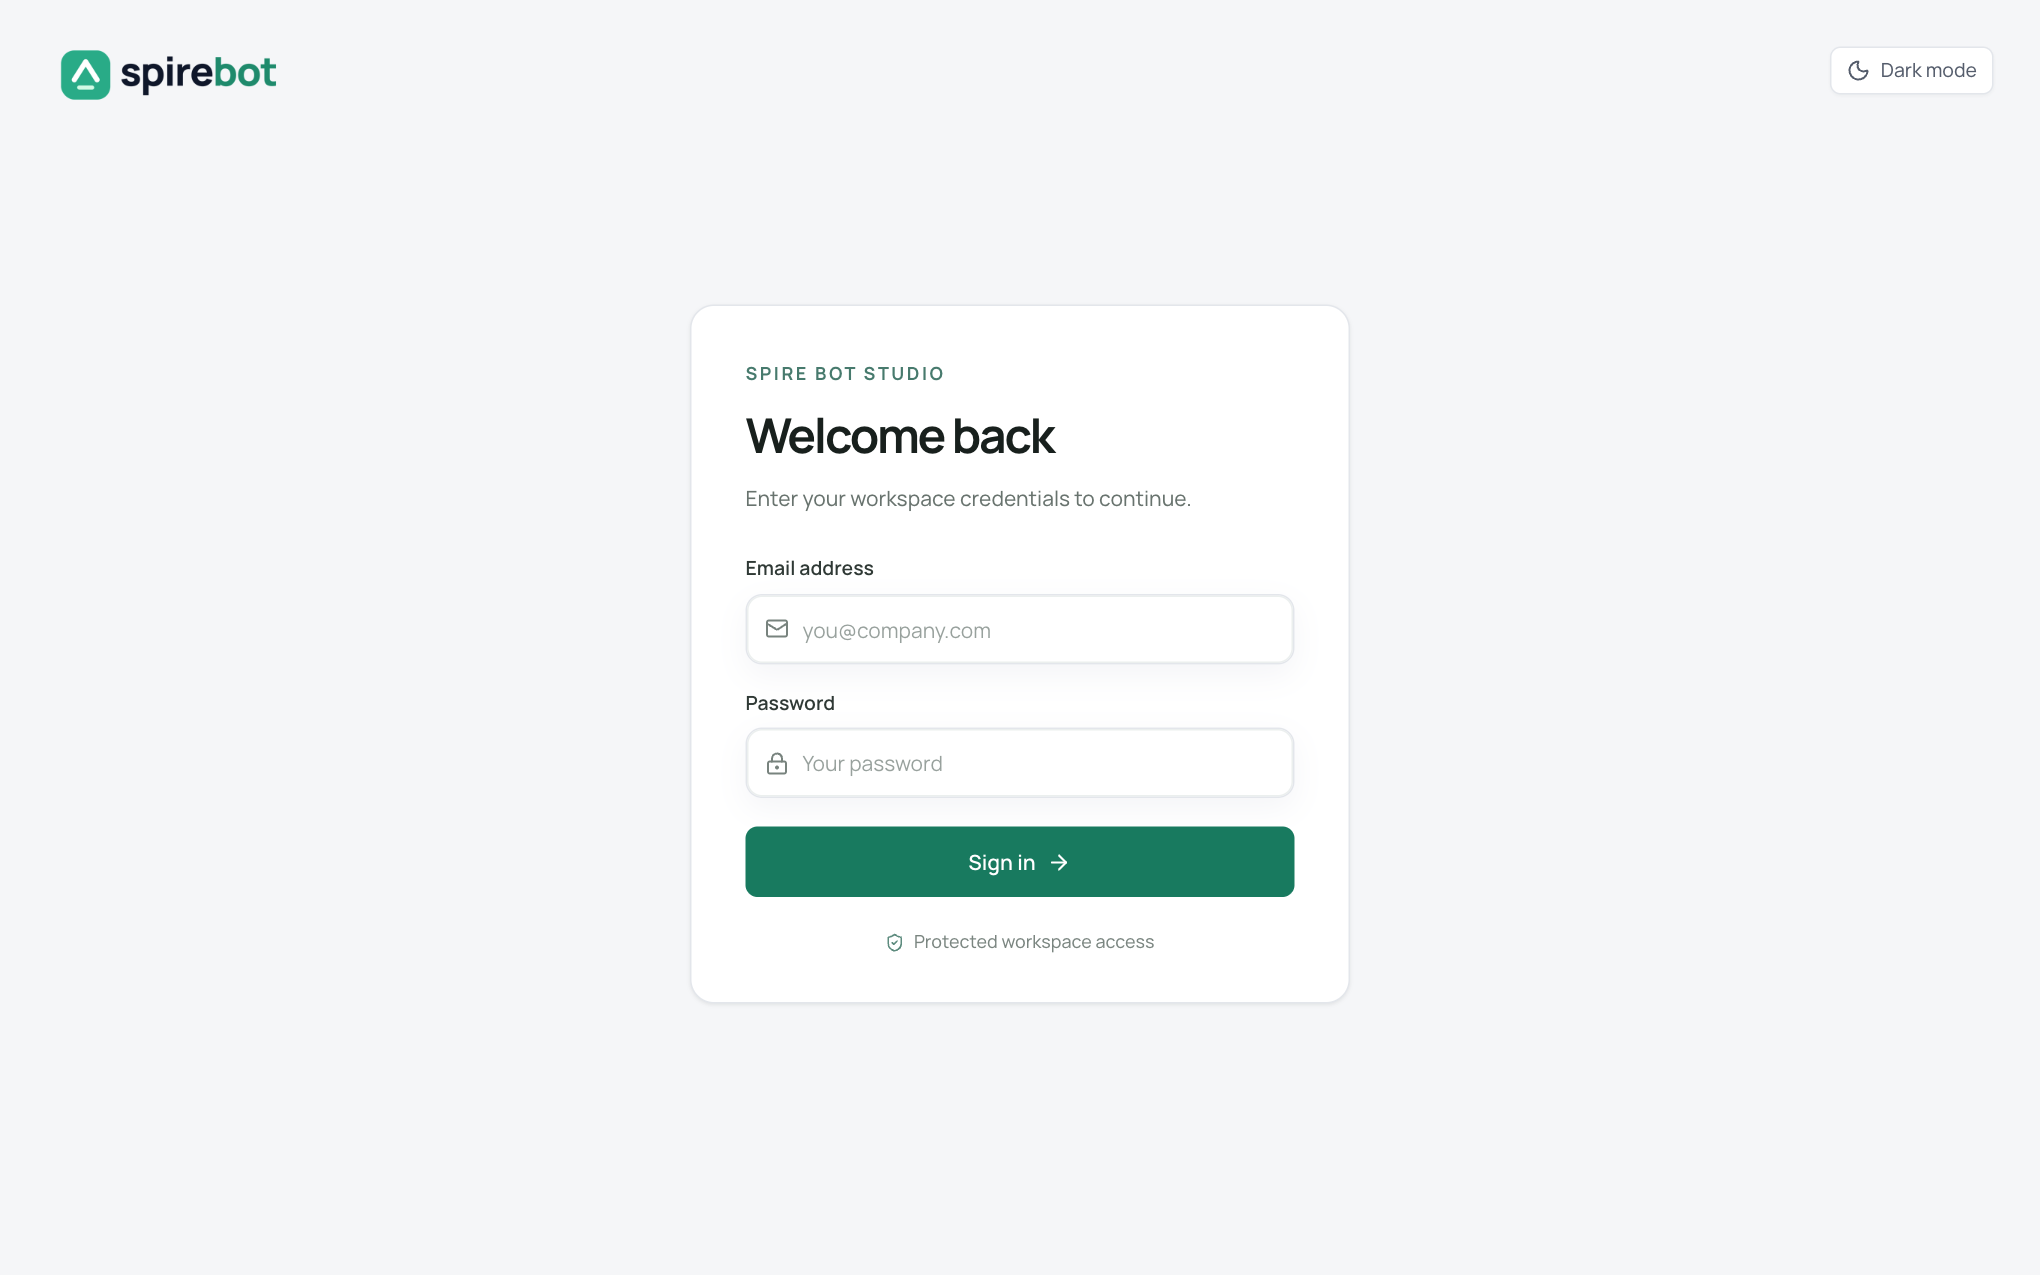
Sign in
- Open your Spire Bot address in a browser.
- Enter your email address and password.
- Select Sign in.
Accounts are created by an Administrator or Security Admin. If you cannot sign in, ask them to check your account.
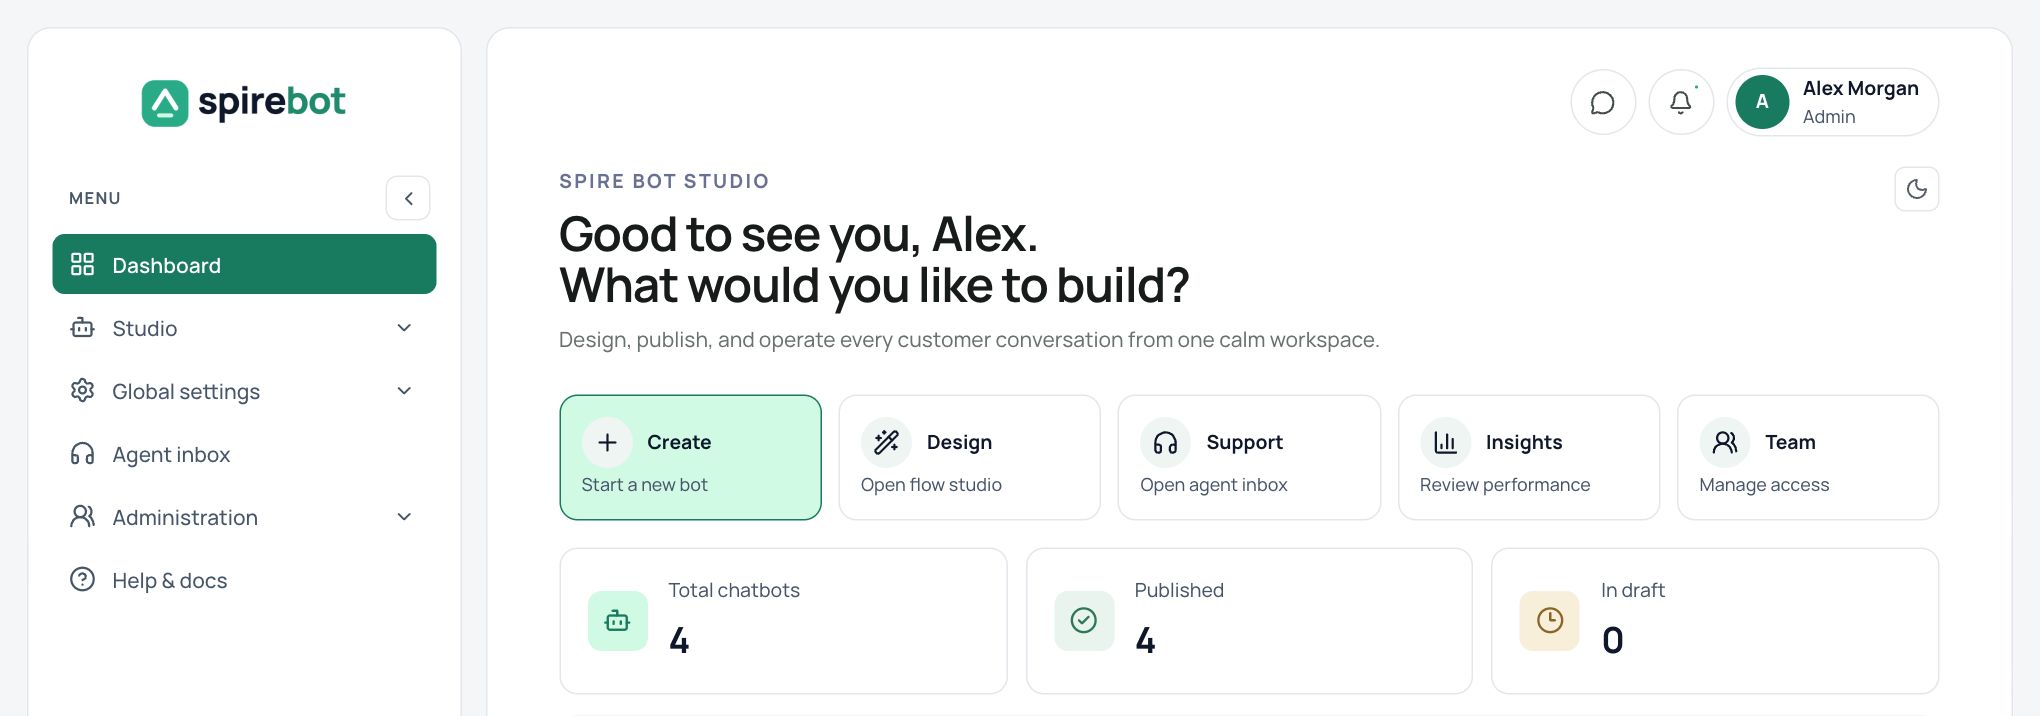
The dashboard
The dashboard opens after you sign in if your roles include the Studio. Otherwise you land on Users & agents (Security Admin) or the Agent inbox. Shortcut cards take you to the most common tasks: Create a bot, Design in the flow studio, open the Support inbox, review Insights, and manage the Team. Below them you see how many chatbots exist, how many are published, and your most recent bots.
The main menu
| Menu item | What it opens |
|---|---|
| Dashboard | The overview page. |
| Studio | All bots, and for the bot you have open: Design, APIs, Translations, Scripts, Knowledge, Untrained queries, Deploy, Conversations, Analytics, Releases, Bot settings, and Audit log. |
| Global settings | API connections shared by every bot in the workspace. |
| Agent inbox | Live conversations handed over to your departments. |
| Administration | Users & agents, Departments, Chat tags, Canned responses, and Observability. |
| Help & docs | The online guide. |
The menu shows only what your roles allow. For example, Global settings appears for API Integrators and Administrators, and Administration appears for Security Admins and Administrators. See Roles in the Live support chapter.
- Use the arrow at the top of the menu to collapse it to icons and gain working space.
- Your name at the bottom of the menu opens your profile. The icon beside it signs you out.
- The moon button switches between light and dark mode. In the studio, the A button changes the text size.
You only see the menu items your role allows.
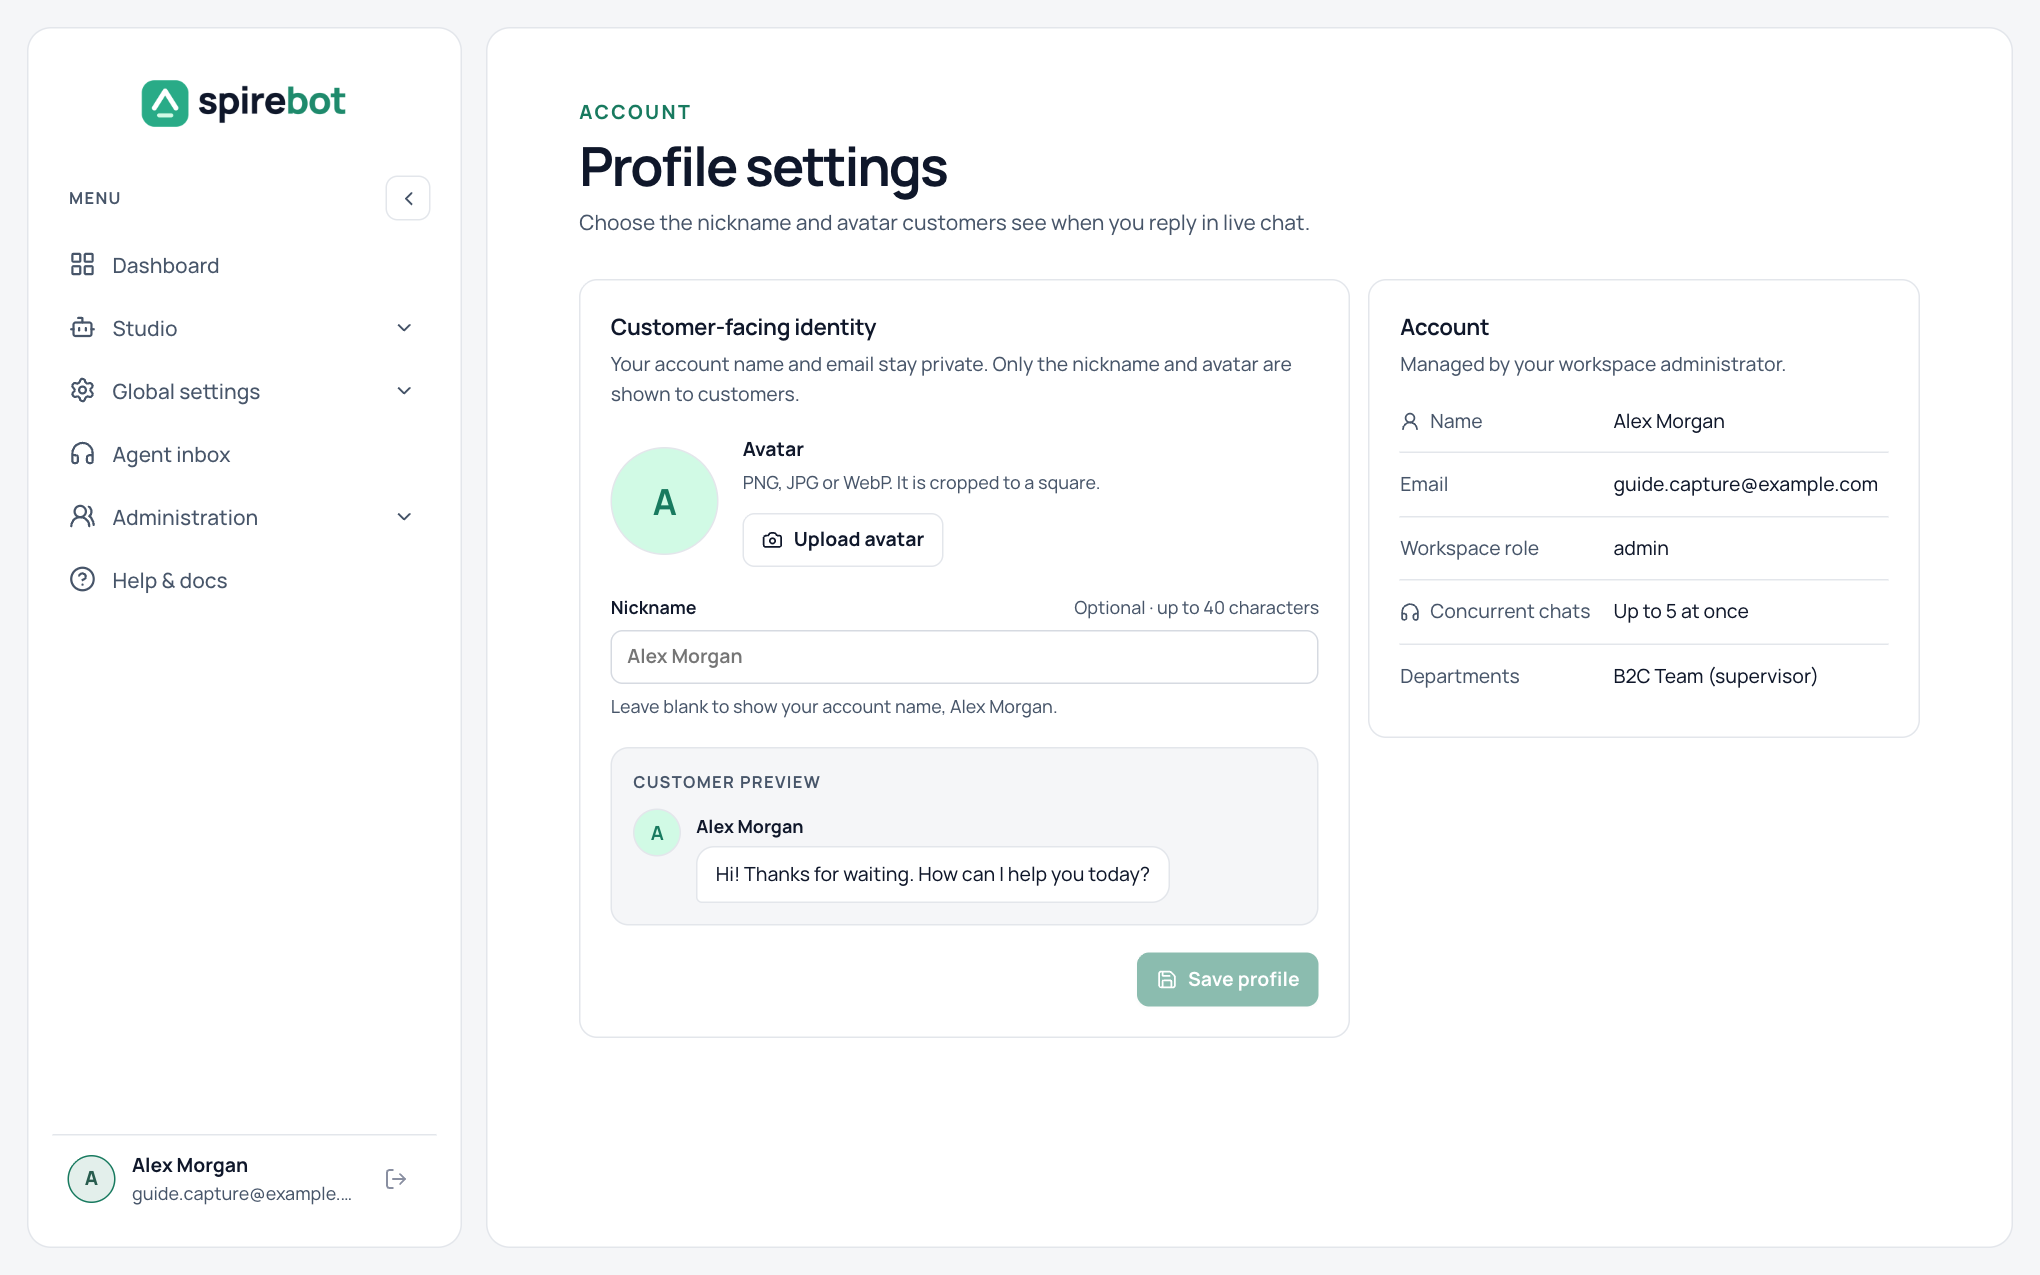
Your profile
Open your profile from your name at the bottom of the menu. Customers never see your account name or email. They see the nickname and avatar you set here when you reply in live chat.
- Select Upload avatar and choose a PNG, JPG, or WebP image. It is cropped to a square.
- Enter a Nickname of up to 40 characters. Leave it blank to show your account name.
- Check the Customer preview, then select Save profile.
The Account panel shows your name, email, workspace roles, concurrent chat limit, and departments. These are managed by your workspace administrator.